
Before we could grout the backsplash we had to add trim around all of the tile edges. Sounds easy, right? We went to Lowes and Home Depot but couldn’t find anything. Then we went to The Tile Shop. This place is beautiful, stunning tile, and stunning prices. We ended up spending $100ish (after a $2 discount per piece) for twelve pieces of these.

So ridiculous. Not being satisfied we went back to Lowes, a different Lowes than before and found these for $2 a piece. Guess which one we went with.

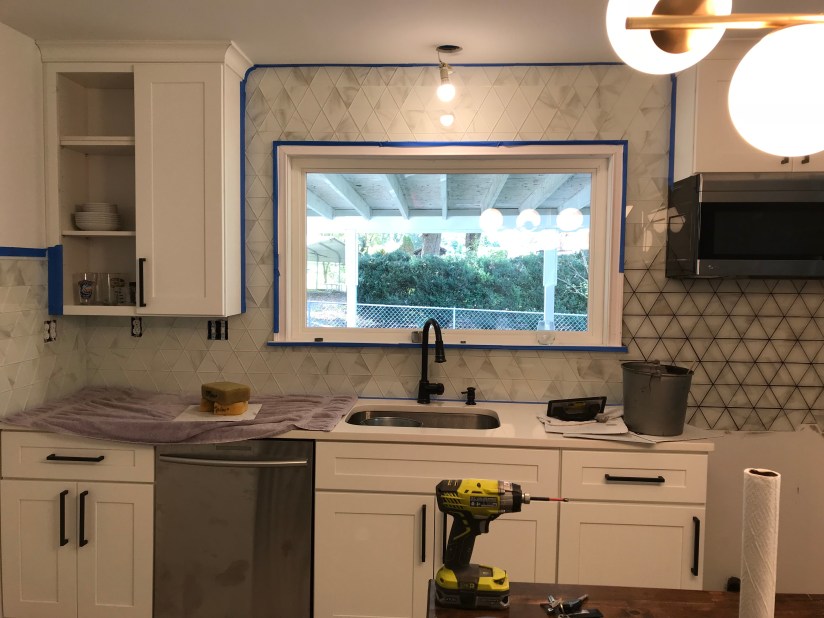
Here’s a before and after. That tile trim made such a difference. It looks so much better.


Enough small talk, let’s get to the goods…grouting the backsplash. Saying I was nervous is an understatement. I had a vision in my head of what the backsplash would look like but I was still having second thoughts considering we picked charcoal AKA black grout. The backsplash was so pretty and marbley (I’m sure that isn’t a word) looking. Charcoal grout would completely change the look.
Even though the backsplash was light, airy, and pretty that wasn’t exactly the look I was going for. I wanted something graphic and modern. When in doubt, do a test, behind the stove, where nobody else can see. Does the photo below ease your concern…lol…didn’t think so. But, I had to look past that and go for it, make the commitment.

Here we are, all in. Looks horrific, like a abstract murder scene. And boy was this messy.

Now it’s looking a little better but still black grout residue everywhere.

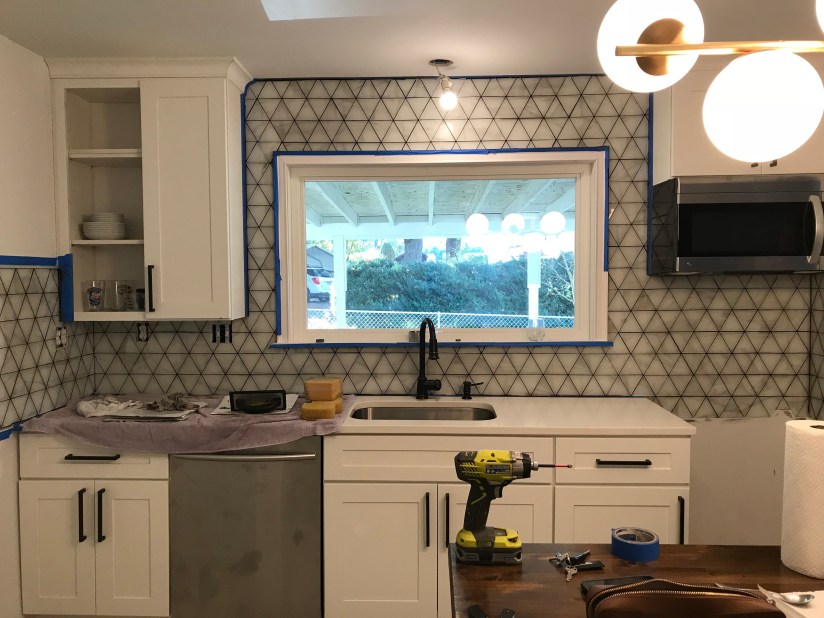
Once we figured out how messy the grout was we got smart and taped everything. This is a nice view of what the tile looked like before grout and after. I love how the picture is a “real” picture; you have our drill, bucket, multiple sponges, paper towels, cabinet door off…we’re not trying to look cute for you. This is real life.
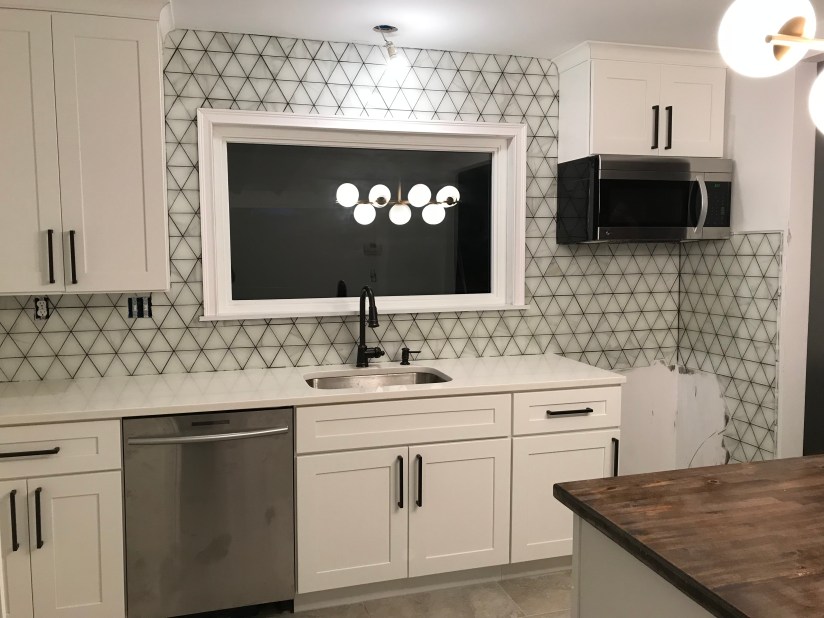
All grouted up. Next step, wait two hours for the grout to dry.
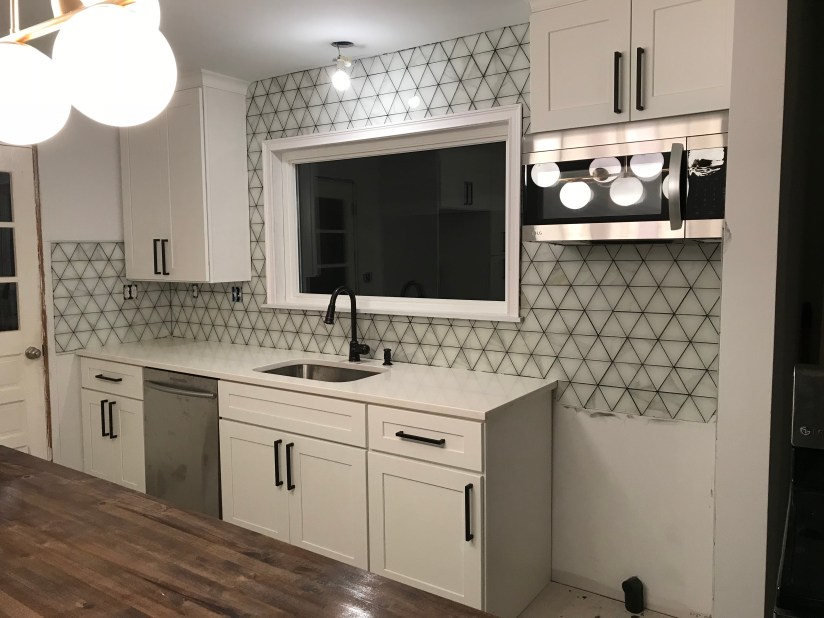
Here’s some shots of the final product. I love it. The diamond pattern really pops.
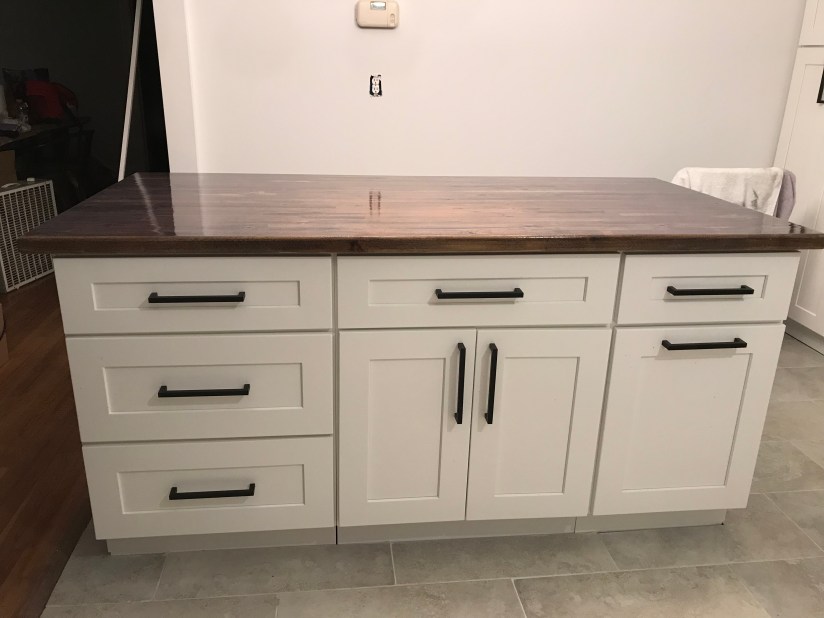
Let me change gears for a minute. Here’s the island, completed with all hardware added. I love the handles we picked out. The cabinet on the bottom right is the trashcan. I don’t think I can ever have a freestanding trashcan again. I love keeping the trash hidden in a cabinet.
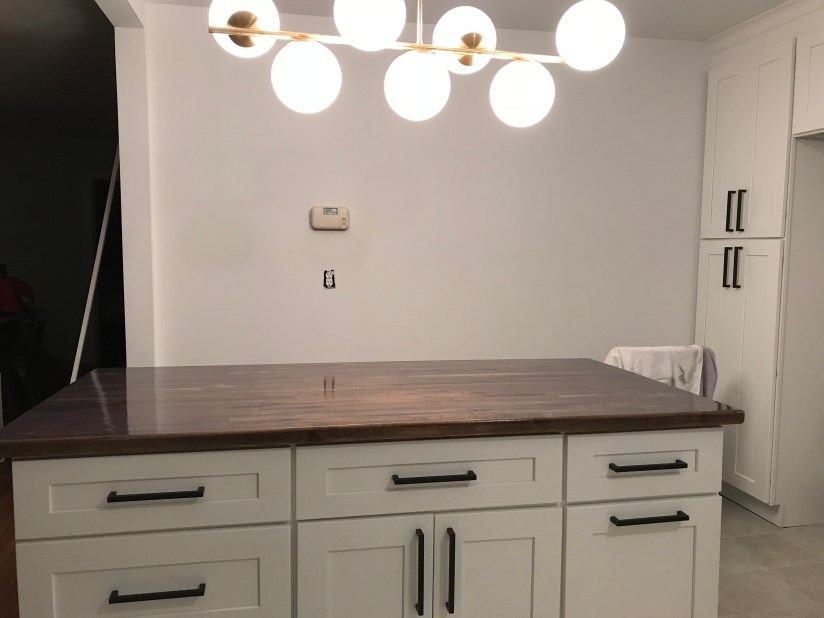
At first glance this photo looks really random but I wanted to get a shot of the blank wall I keep talking about. That is where my weird bird art is going and that is where the bulk of the color in room will come from when we paint the wall.
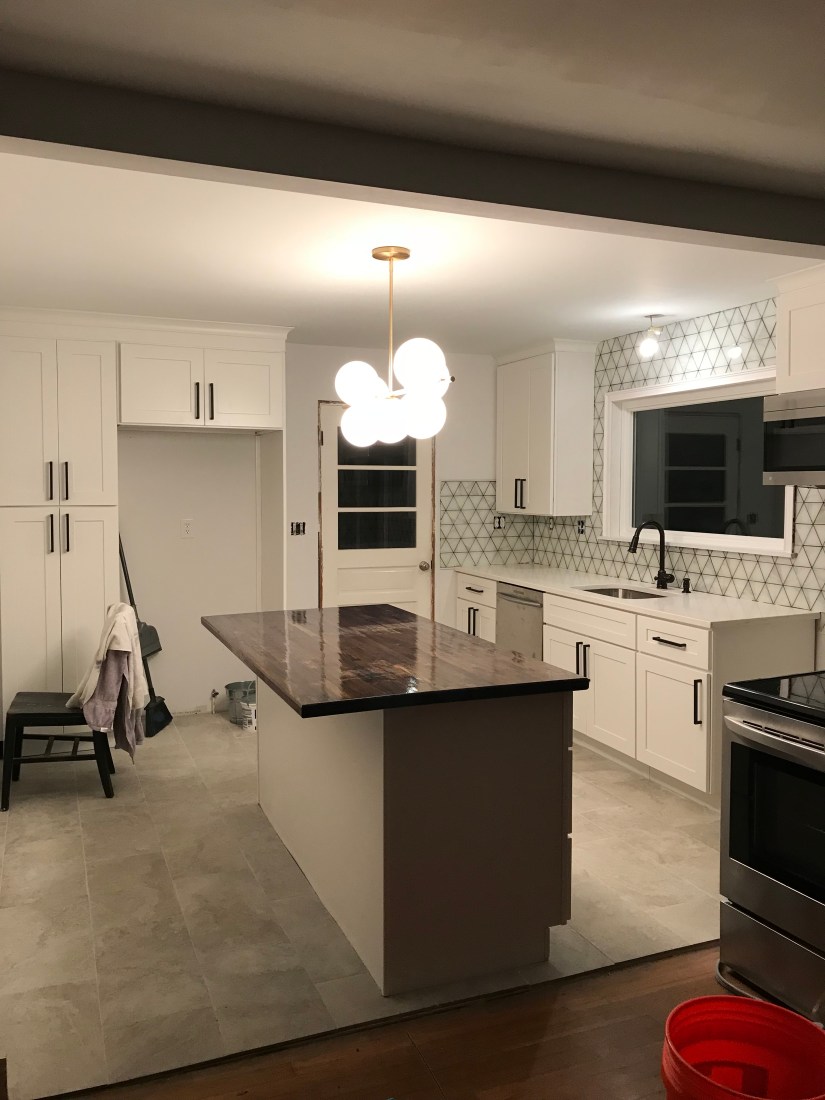
Here is what we have left in the kitchen; baseboards, shoe molding, door casement, paint walls, kick plate on lower cabinets, framing on island ends, and put refrigerator in. Easy peasy…ha!
Before I go I want to give you a sneak peak of some of the tile we are going to put in the bathroom. This remodel has been such a learning process and if we do it again we will definitely save money the next go round. I wanted to go to Ikea this weekend and stop at Floors and Décor afterwards, since they are right next door to each other. I have never been to a Floors and Décor and I have no idea why not. They have so many tile options and at reasonable prices. Without further ado, here’s some of the tile we chose.

I love this tile. When I was searching for tile for our backsplash, this shape was always on my list but it isn’t cheap. We got lucky and got it on clearance at Floors and Décor. We are going to use it as an accent.
That’s all for this weekend. Stay tuned for another Facebook Marketplace find…it’s another weird one 🙂
